Wood Staining Tips
Here are just a few items that will impact Staining & the final appearance of your deck.
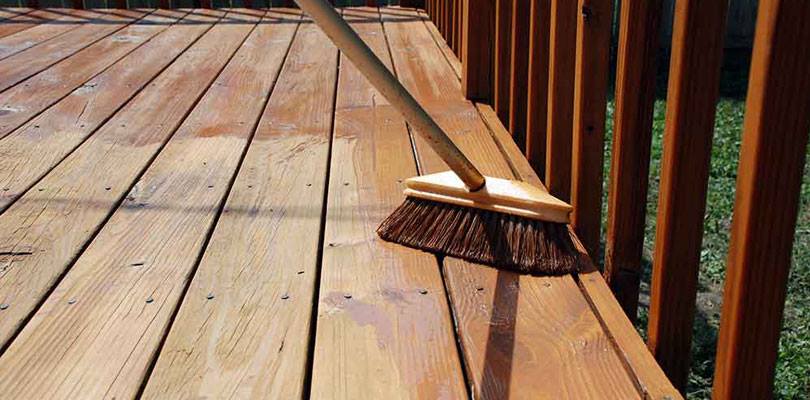
STAINING SUPPLIES
The importance of using high-quality supplies that provide more even application, fewer problems with streaking and buildup, greater ease in application, and a better final appearance. Investing a little more initially will pay off in the end. We have found that using the cleaner or stripper, followed by the brightener creates an ideal surface for staining. If you want to get the maximum lifespan out of your deck stain, proper prep is essential. In addition to making the stain last longer, the prep products will remove previous stains, remove mill scale, brighten the wood, and create a more uniform stain application.
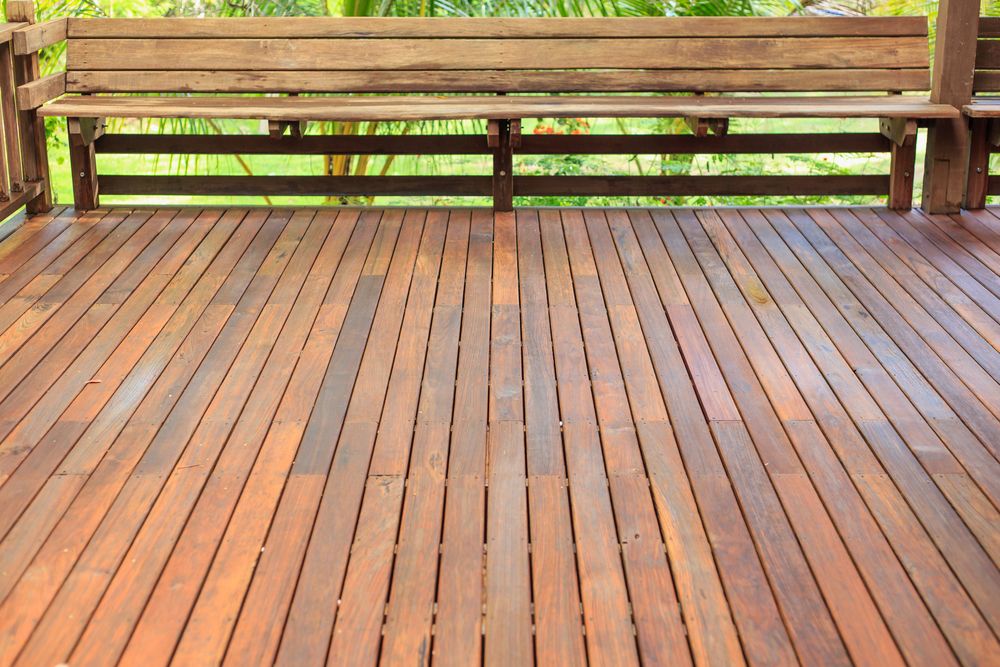
CHOOSING YOUR STAIN
There are significant differences between stains, from how they penetrate the wood and resist UV penetration and weather effects, to the look following application and wear over time.
WATCH THE WEATHER
Watch the weather reports, realizing that staining should be done in the right temperature range (read the directions) and when the stain will have enough time to dry before rainfall.
BLEND BATCHES
Know that the same color of the same brand may have minor variations from one pail to the next. Plan ahead and mix all of the stain that they’ll use upfront so that variations are blended together to make one consistent color.
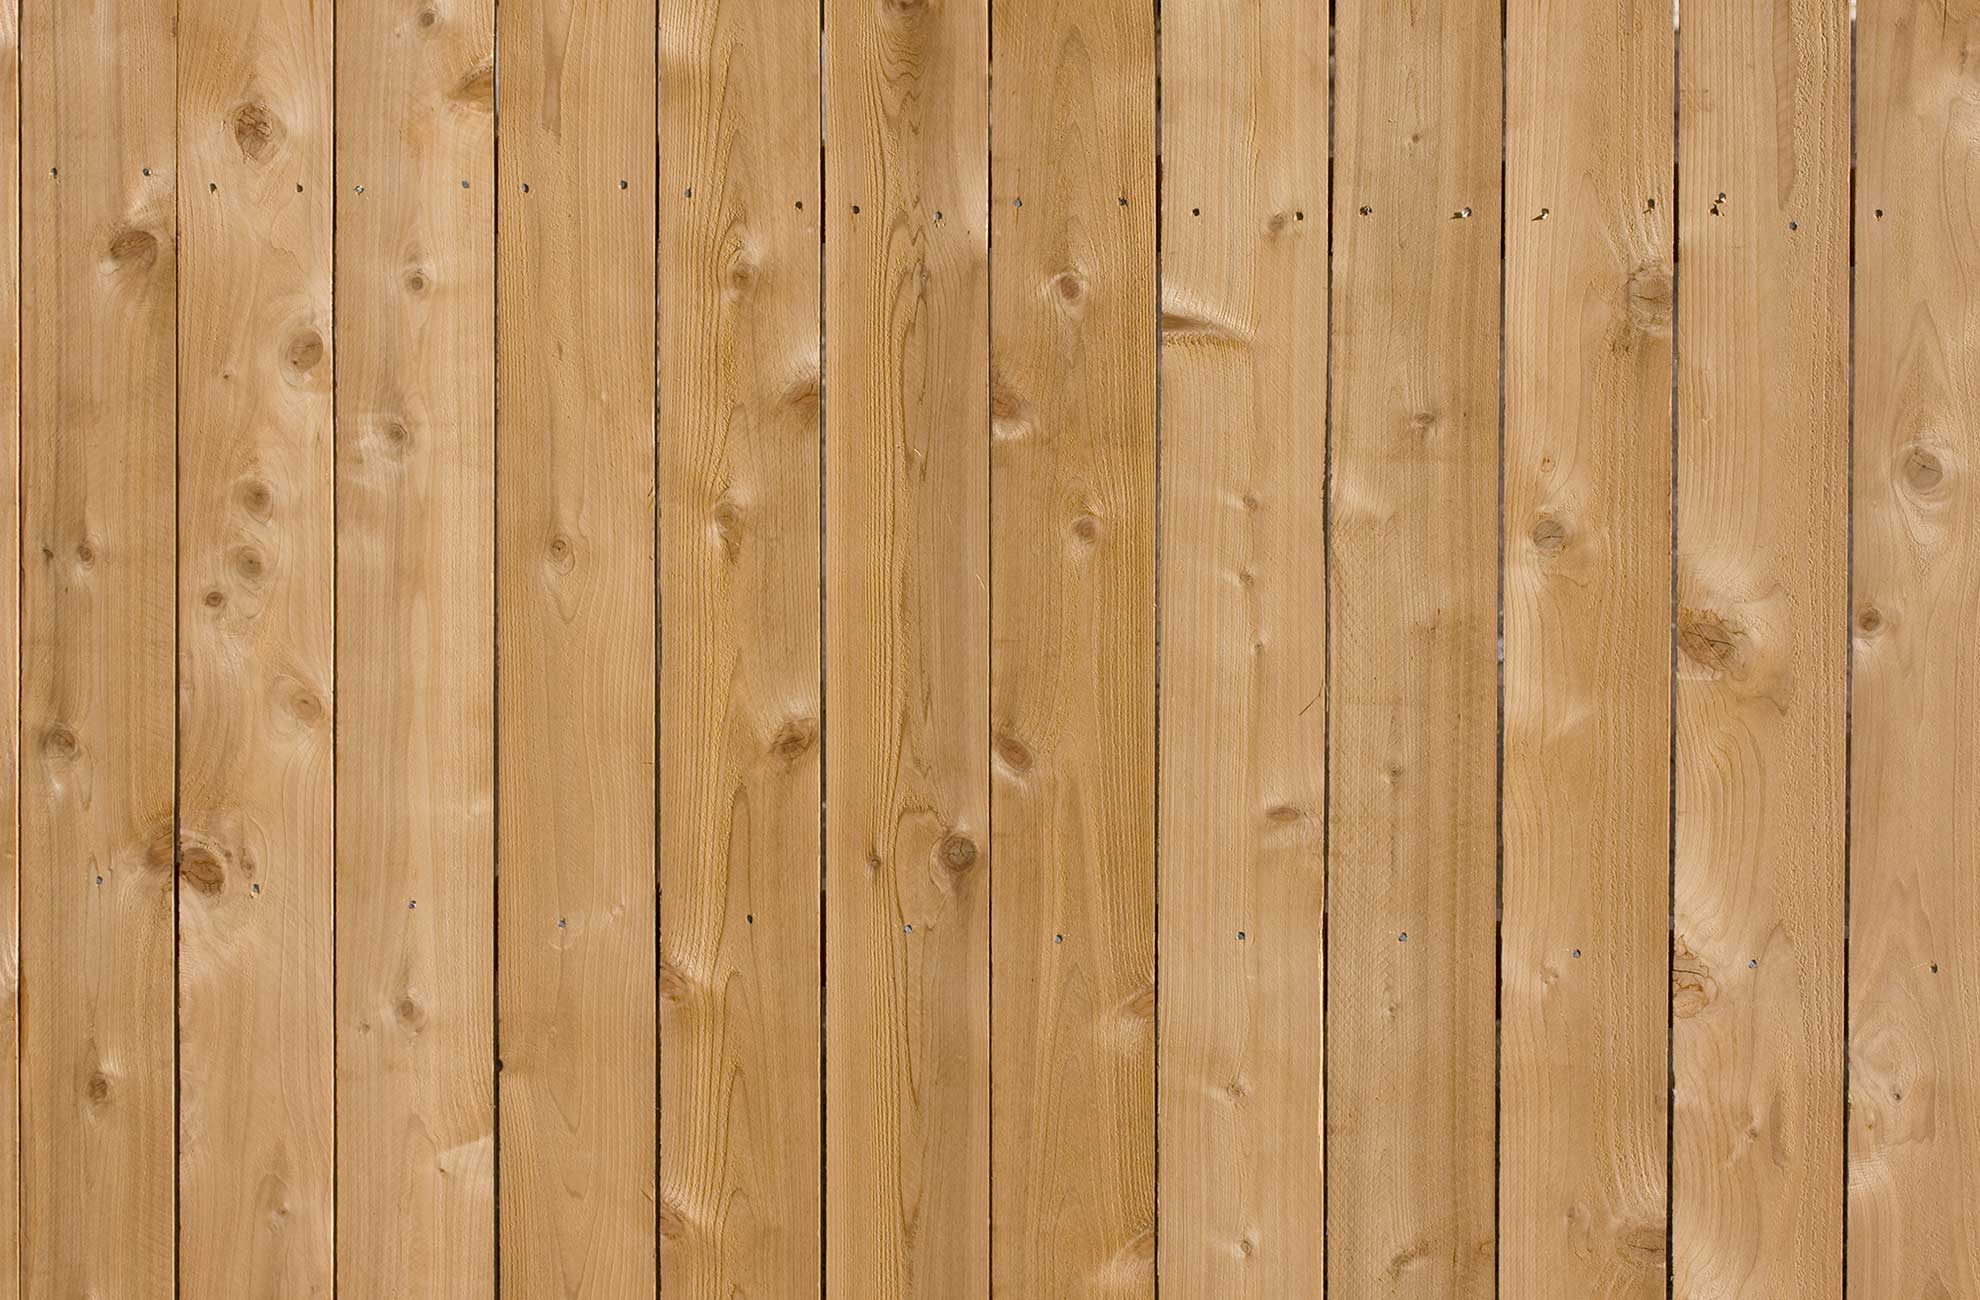
THE FIRST TIME
Apply the stain to the vertical posts first, then the horizontal boards, staining entire boards from end to end with the wood grain, and then moving on to another board rather than staining across boards. Carefully apply the right amount of stain and never over-apply.